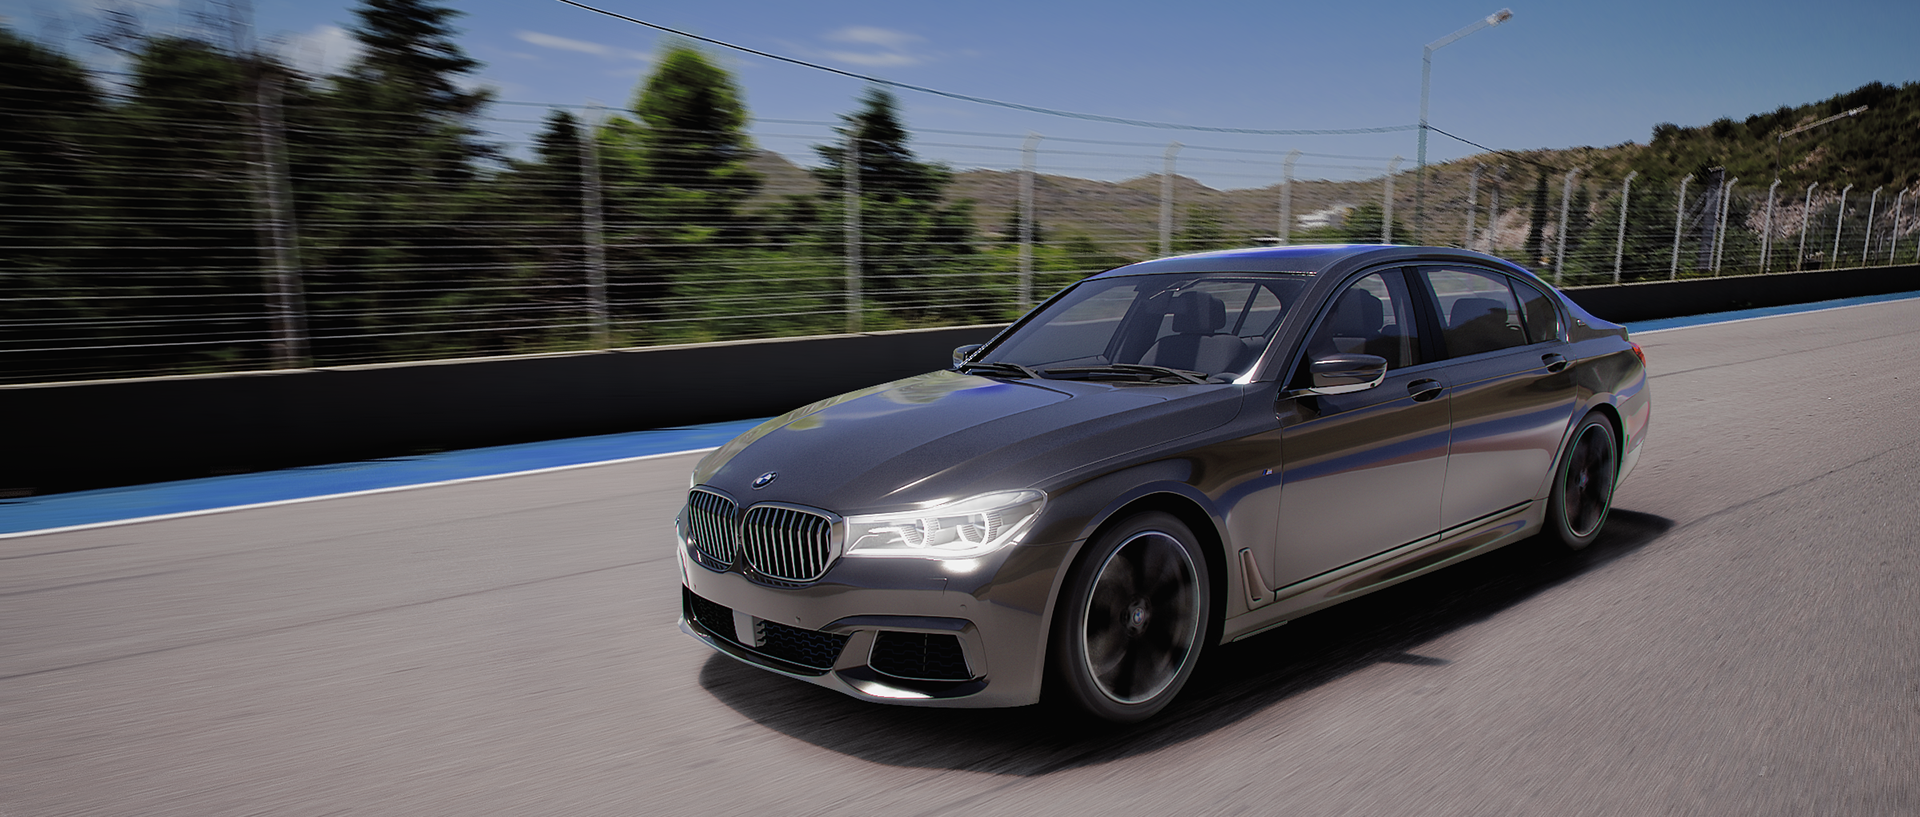
This project was slightly more challenging as I had to fit the car into the backdrop and make the car appear in motion in contrast to the background. This was achieved using the various passes renderd from Maya and also the post processing completed in photoshop where I craftily brought them all together using different layers, blend modes, masks and adjustment layers. The LUT(Look Up Table) choice fot this final piece was chosen from a range which I had chosen, I believe this one best suits the setting with blending the car with the backdrop effectively while still keeping the realistic colours throughout the whole image. I am responsible for all aspects except the car model.
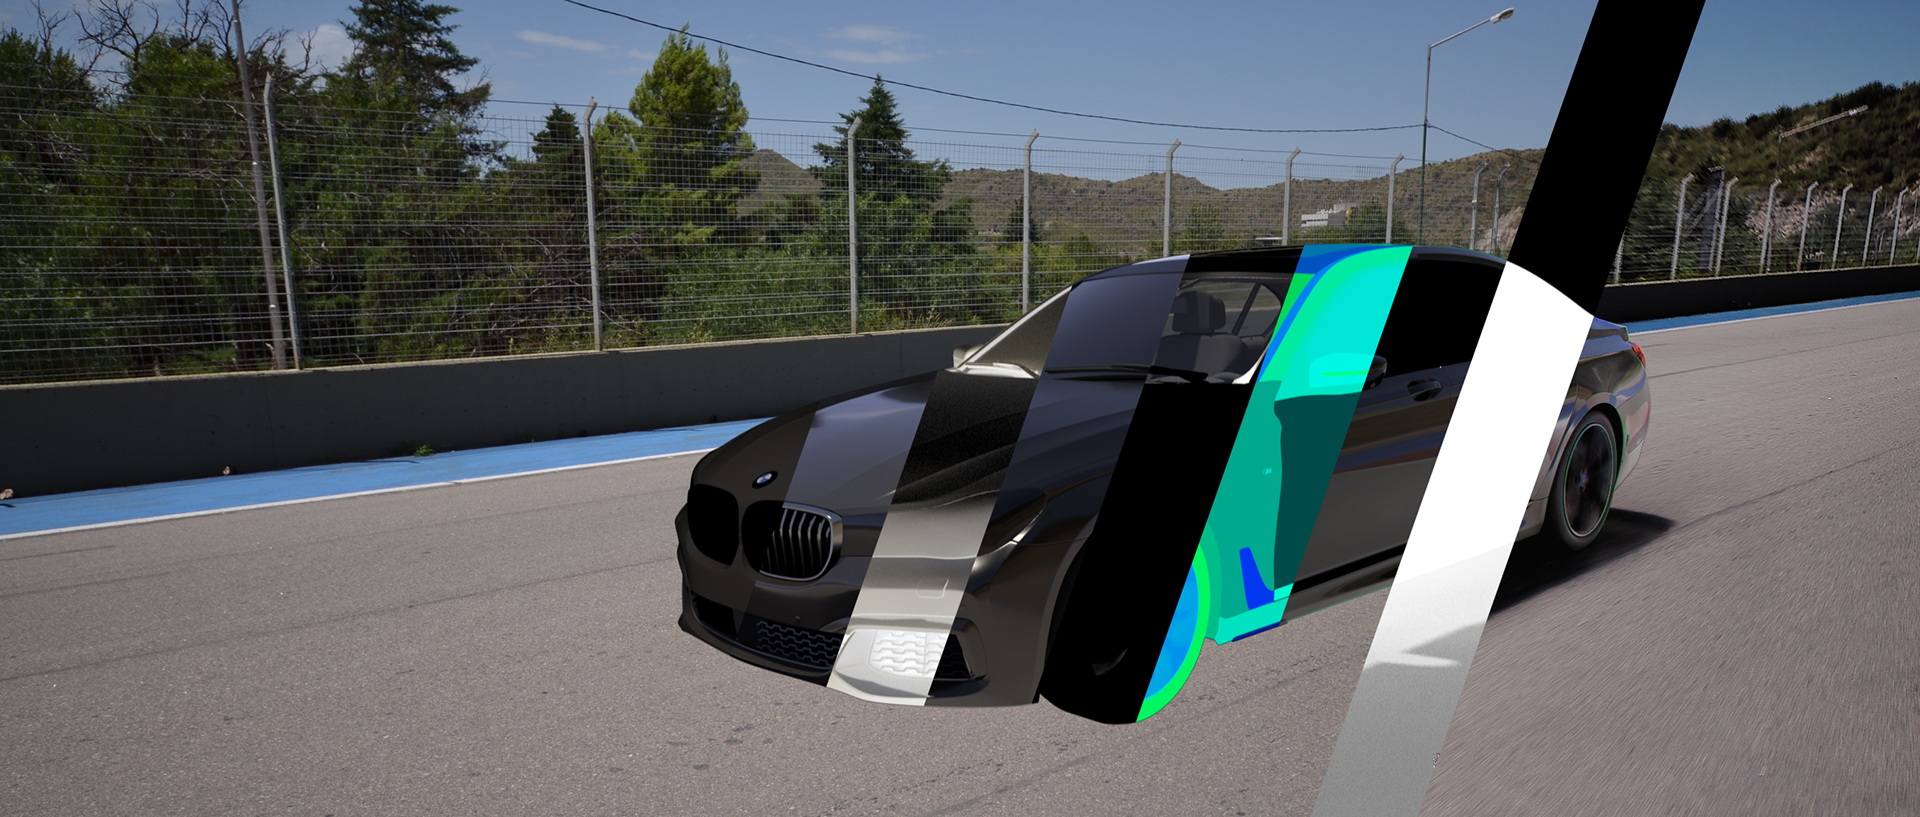
Passes breakdown
Here are the passes I renderd from Maya. From left to right we have; Diffuse, Direct, Shadowmatte(Car object), Specular, Transmission, Cryptomatte(object), Coat, Shadowmatte(floor).
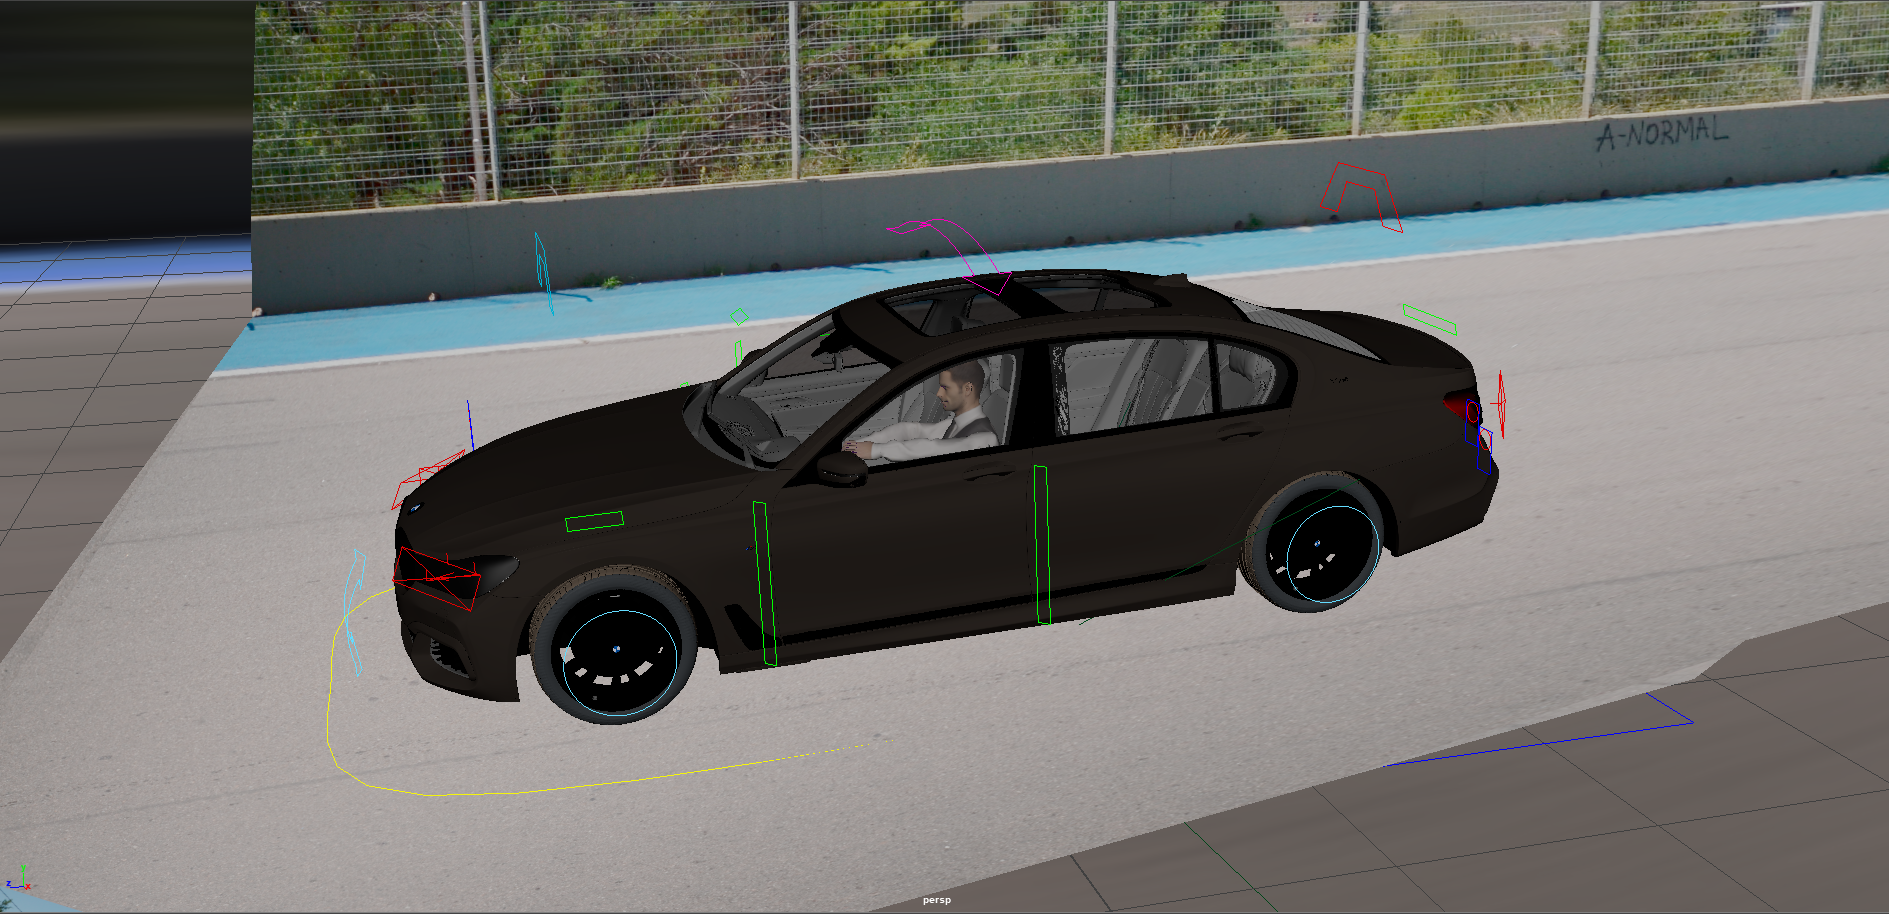
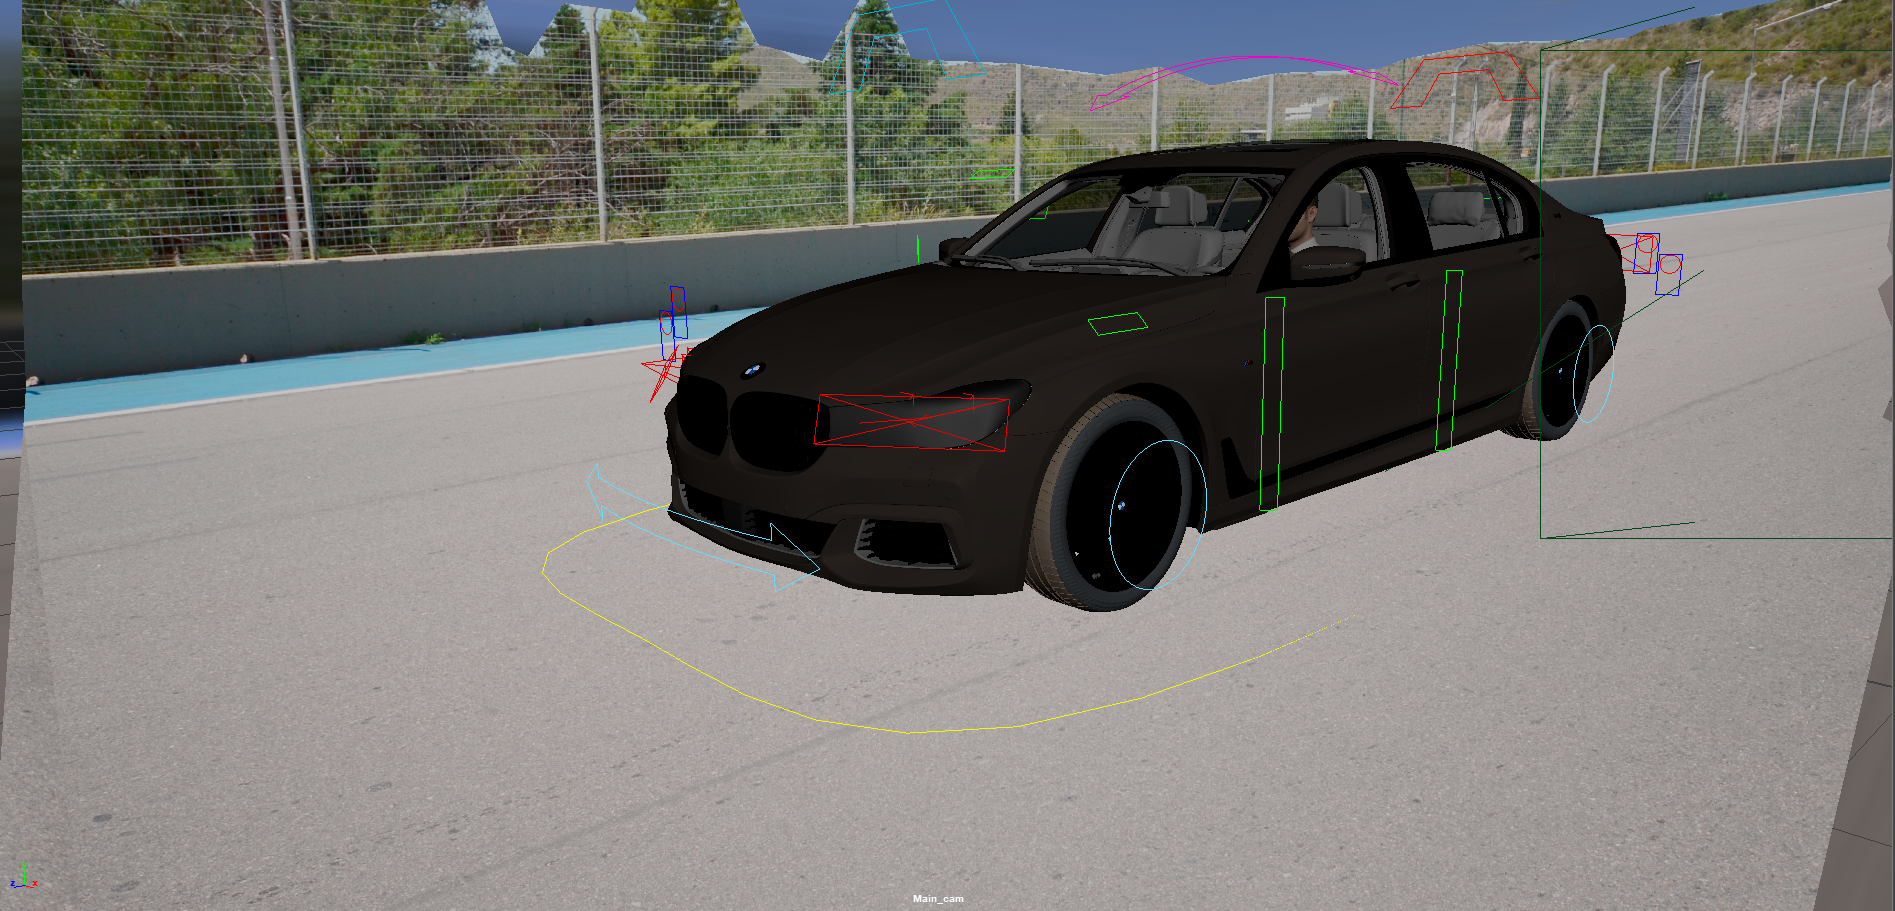
In scene setup
This is how I set up the 3D scene. In order to make the car appear in motion I used my rig to keyframe the car over 90 frames traveling forward and at frame 45 it sits perfectly in the shot ready for render, I then used the same track for the rendering camera, therefore allowing only the wheels and reflections to be motion blurred. The rig is setup to have accurate wheel rotation dependent on the car moving moving distance per frame.